
Support
Installation - Installing Lexacom 3
Problem
Lexacom requires reinstallation following a PC replacement or operating system upgrade.
Resolution
Step One - Before you begin
Before you begin the re-installation of Lexacom 3 onto a new desktop machine, you must first document the location of your dictation shared folder. We will need this location a little further along in the re-installation process. If you already know the location of your Lexacom data folder, move ahead to Step Two.
If you are unsure as to where this folder is, you can find the location from your old installation of Lexacom.
To find out where it is, please complete the following steps
- Double click on the My Computer icon to open Windows Explorer
- Locate the address bar at the top of the window that opened and enter the following dependent on your operating system
- Windows 7 – C:\ProgramData\Aprobrium\Lexacom3
- Windows XP – C:\Documents and Settings\All Users\Application Data\Aprobrium\Lexacom3
- Within this folder you should see a file called Lexacom3.cfg
- Double click that file and a dialog should appear stating "Windows can't open this file"
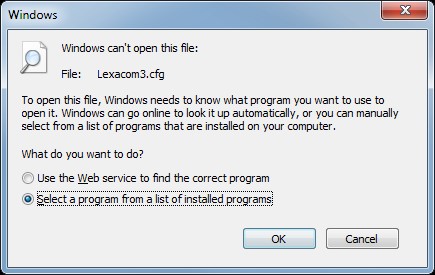
Figure 1: Open File Dialog
- Choose to "Select a program from a list of installed programs"
- Select Notepad from the list and click OK.
- The file will then open and display something like the following.

Figure 2: Client Config File
- You need to note down the location specified between the ServerPath tags
- In this case: \\ServernameHere\dictation\lexacom
- This is the location we need after the Lexacom client is installed.
Step Two - Installing the Client
After collecting the location of your dictation share, you will now need to install the Lexacom client software. To do so, follow the guide below.
- Ensure that you have a recent client installer; if the client installer is earlier than 3.2.6.8 Lexacom will not correctly update to later versions. If installing a number of PCs it may be preferable to contact the Lexacom Support Team and request the installer for the latest version.
- Double click on the Lexacom Client Installer file.
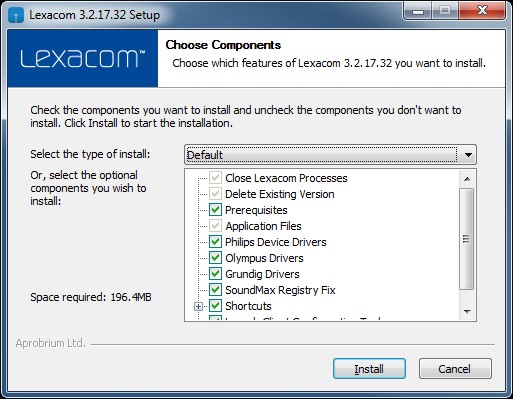
Figure 3: Lexacom Installer
- Click install to accept the default installation type.
- You will see the progress indicator move along and other windows open and close during the installation.
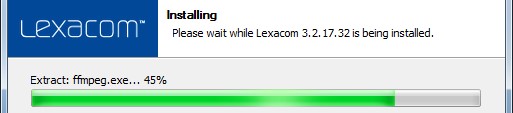
Figure 4: Installation Progress
- Once complete, click Close
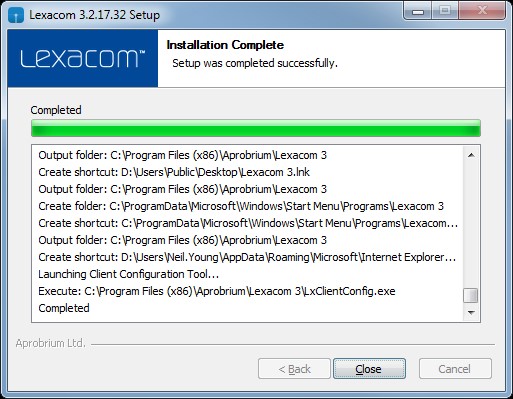
Figure 5: Installation Finished
- You will now see a new dialog open called Lexacom Config
- Unless you have been instructed to configure differently, select Single site configuration and in the second window, leave the application mode as workstation
- Enter into the NDP field the location you noted down in the previous steps
- For this example: \\servername\dictation\lexacom
- Click Save & Close
Step Three - Grant Local Folder Permissions
For Lexacom to run correctly, users require full control permission to certain local folders.
- Browse to C:\programData\Aprobrium
- Grant Full Control permssion to Authenticated Users over this folder; if you are unfamiliar with the process of granting permissions:
- Right-click on the folder
- Go to Properties
- Go to Security
- Click Edit and then Add
- Enter the security group Authenticated Users and click OK
- Tick the Allow checkbox against Full Control
- Click Apply and OK to all windows to save
- Repeat the process for C:\program Files\Aprobrium
Step Four - Connect Hardware and Test Working
- Connect any hardware, including microphones or footswitches, that you wish to use with Lexacom 3
- If the PC will be used to make dictation, check the default recording device and volume, following the instructions here
- Run the Lexacom program and ensure that users can log into Lexacom and use the software as required
Finish
Congratulations! You have now re-installed Lexacom.
Created: 9 Jun 2014 10:15 BST Updated: 16 Dec 2015 10:23 GMT